Now that my Easter ham is gone and the jelly beans have been eaten, it’s time for me to get set for the next Spring celebration. Wouldn’t mom love a homemade gift this Mother’s day that doesn’t involve elbow macaroni and glitter?
Since I’ve become a mother, I love all the things my son glues and glitters up for Mother’s day. Those paintings and attempts at pottery will be cherished forever. However, my mother and mother-in-law most likely would not appreciate it if I made them a plastic beaded bracelet. But homemade gifts are still cherished, this I know from the great Christmas cowl knit-a-thon I endured just a few months ago. So this year, I have started on new pattern in a favorite yarn and wanted to share it with you.

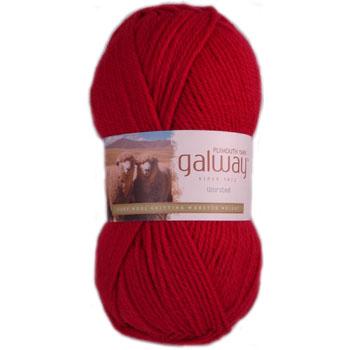
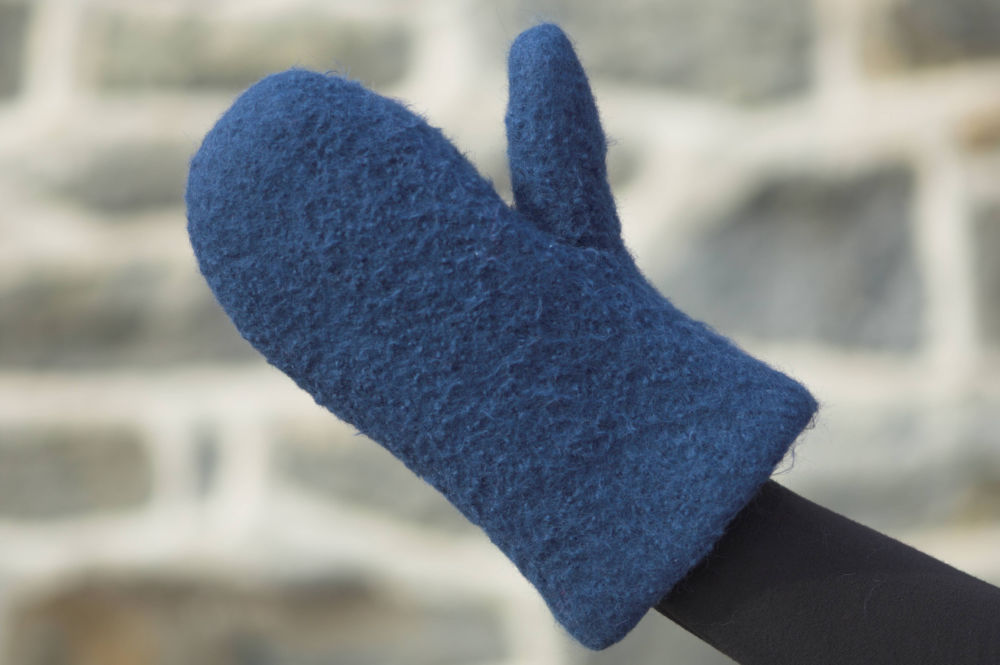
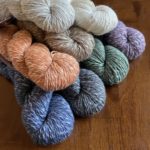
If you’ve read my blogs before, you might know that I love felting. It’s been a while since I’ve felted anything so I am excited to see how my new washer will do(I guess that means I get the test mitt!). I also came across a couple of charms at a craft fair that I want to sew in at the end. This oven mitt made in Galway is going to be adorable. I love the wide range of colors, it’s perfect to match everyone’s kitchen. Check out the free pattern below.
F439 Galway Oven Mitt PDF download
F439 Galway Oven Mitt
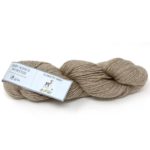
GALWAY WORSTED
Felted Oven Mitt
Materials: 2 balls Galway Worsted
Needles: US #11 (8.0 mm) double pointed needles, Stitch markers
Gauge: Not important on this project –
about 2.5-3 sts =1”.
NOTE: Galway used double stranded throughout.
Loosely cast on 46 sts and divide onto 3 DPN’s. Join, taking care not to twist and work 1 ridge of garter st as follows: knit 1 round, purl 1 round.
Continue in st st – knitting every round for 15 rounds.
Next round: With a piece of waste cotton, knit next 5 sts. Slide the 5 sts just worked back to the LH needle and picking up the MC yarn, Knit them again. Continue working in st st for 24 additional rounds.
Place a stitch marker at the beginning of the round and between sts 23 & 24. Work decreases at the top of the mitten as follows:
Round 1: * (SSK, knit until 2 sts remain before marker, K2tog), repeat from * once more for second side of mitt.
Round 2: Knit all sts.
Repeat these 2 rounds until a total of 20 sts remain.
Divide sts onto 2 needles and work Kitchener st to join at top of mitt. Weave in ends.
Thumb
Remove the waste cotton and place the 5 sts at the bottom of the opening onto one DPN and put the 5 sts at the
top of the opening on another DPN. Knit 5 sts from first needle, pick up and knit 3 sts on side between needles, k5 from second needle, pick up and knit 3 sts between needles. Distribute the 16 sts between the 3 needles. Work 10 rounds in st st.
Begin decreases at top of thumb as follows:
Round 1: (K2, k2tog) 4 times.
Round 2: Knit
Round 3: (K1, k2tog) 4 times.
Round 4: Knit
Round 5: (K2tog) 4 times.
Cut yarn and thread onto tapestry needle. Pull yarn through all sts on the needles and pull top of thumb
together. Weave in ends.
Felting Instructions
Place the mitt in a zippered bag and put in washing machine with a small amount of soap and a pair of old jeans.
Use lowest water level and hottest water temperature possible. All machines work differently so check the progress about halfway through the first wash cycle. Check to make sure that the thumb has not felted to itself.
Depending on machine, and water chemistry and temperatures, two or three cycles may be required to fully felt the mitt. Once felted to desired level, rinse and spin lightly so as to remove excess water, but not create creases. Pull into shape and air dry over a tall bottle.
©2012 Plymouth Yarn Company.
Designed by JoAnne Turcotte. All rights reserved.


Recent Comments